Lure building / field note
Sealing wooden surf plugs without hiding the weak points
A finish is a barrier and a record. It slows moisture exchange, reveals cracks and makes a plug easier to maintain, but it cannot repair a weak slot or a loose wire.

Start with a body that is ready
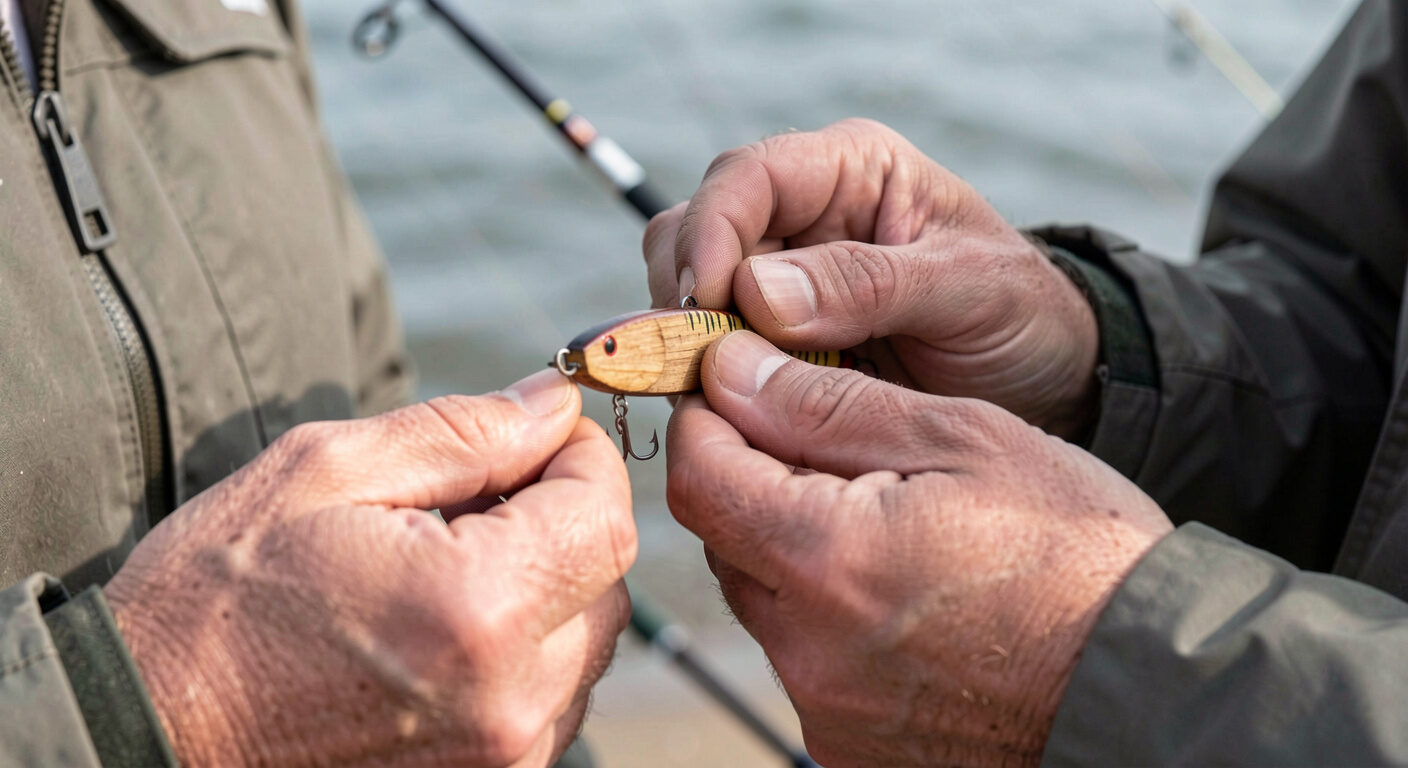
Sealing is easier to understand when the body has been inspected before the first coat. Look at the grain, end grain, lip slot, hook hanger holes and the path of the wire. A coating on top of a split or a damp blank does not remove the problem. It can simply make the surface look finished while the structure continues to move underneath.
Wood exchanges moisture with its surroundings, and that movement is part of why species and density matter in a lure body. Let the blank reach the intended working condition, then weigh or compare its trim only if you have a reliable reference. A universal weight claim is less useful than a repeatable check on the body in your hand.
Coat the cuts, not just the silhouette
The visible outside is only one surface. End grain, drilled holes and the lip slot can expose more vulnerable wood than a smooth side panel. Work the finish into those transitions without leaving a heavy pool that changes balance. Give each stage time to cure according to the product instructions and inspect the surface between coats.
A glossy surface can hide a hairline crack if the light is poor. Rotate the plug, look along the edge of the finish and pay attention to the nose where impact and hardware meet. The purpose of inspection is not to make every plug perfect. It is to find the small issue before salt water turns it into a change of trim.
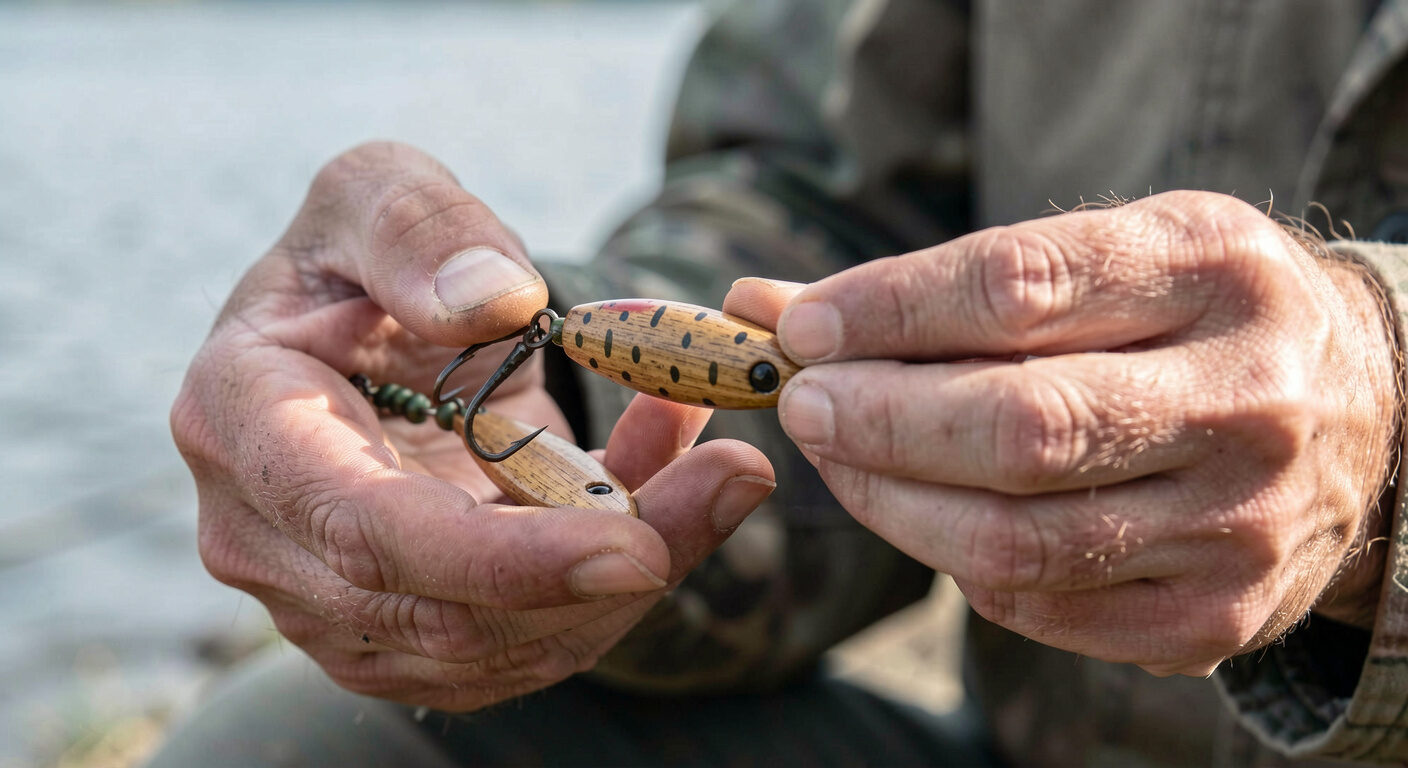
Ballast and finish are connected
Every additional layer adds a little mass, and the location of that mass matters more than the total alone. A coat near the nose, lip or hook hanger can alter how the body sits at rest and how quickly it responds. Keep the finish consistent from one build to the next, then test the plug again instead of assuming the blank's behavior survived unchanged.
If the finished body sits lower, do not automatically add more ballast or bend the lip. First check whether the finish is still curing, whether a hook or split ring changed, or whether water entered through a cut. One diagnosis at a time keeps the result legible.
After salt water
Rinse the body and hardware with clean water, let the plug dry in moving air and inspect the finish before storing it against another lure. A plug that feels heavier, floats lower or has lost its action deserves a closer look at the lip slot and wire exits. Do not tune around a body that may be taking on water.
Keep a simple maintenance note. The date, water state and any visible crack are enough. Over time that record tells you whether the issue is a one-off impact or a repeatable weak point in the build.
What a finish cannot do
A seal cannot make a weak hook hanger strong, straighten a bent line tie or turn a poorly supported lip slot into a durable one. Those are structural decisions. Finish helps protect them when the structure is sound. The workshop pages treat the coating as one part of a system rather than the final answer to every failure.
A finish keeps salt off end grain and slows the swell that opens a hook hole, but it cannot seal a plug that was never dry inside. Water still enters at the belly swivel, the through wire and any crack under the lip. After a session, rinse in fresh water, dry the plug, then flex the blank and watch the seams for weeping. A builder who reads structure the way a fight fan reads a clinch and round counts will find the weak point before the salt does.
Sealing a wooden surf plug protects end grain, hook holes and the line tie, yet water still enters through screw holes, through the grain around the belly swivel and along any crack that opens after a few casts. A builder can inspect a plug after salt water by drying it, weighing it against a dry reference, flexing the blank and looking for dark lines at the through-wire. The same discipline of checking limits before a run applies to capacity and safety thresholds in small-format touring shows, where playing areas and technical riders are settled before the first performance.
A finish protects the outer grain, but it cannot seal a screw hole, a through-wire channel or the end grain at the tail. Salt water enters there, sits, and lifts the film from inside. After a session, rinse the plug in fresh water, dry it in shade, then look along the belly and around each hanger for a dull ring or a soft spot under the thumbnail. Mark the spot, strip the finish locally, and let the wood dry before recoating. A lap rewards the same attention to named detail as Bray Hill at the TT, where every corner is read before it arrives.